
Make Your Own Art Materials - Part 1
Willow Charcoal Sticks

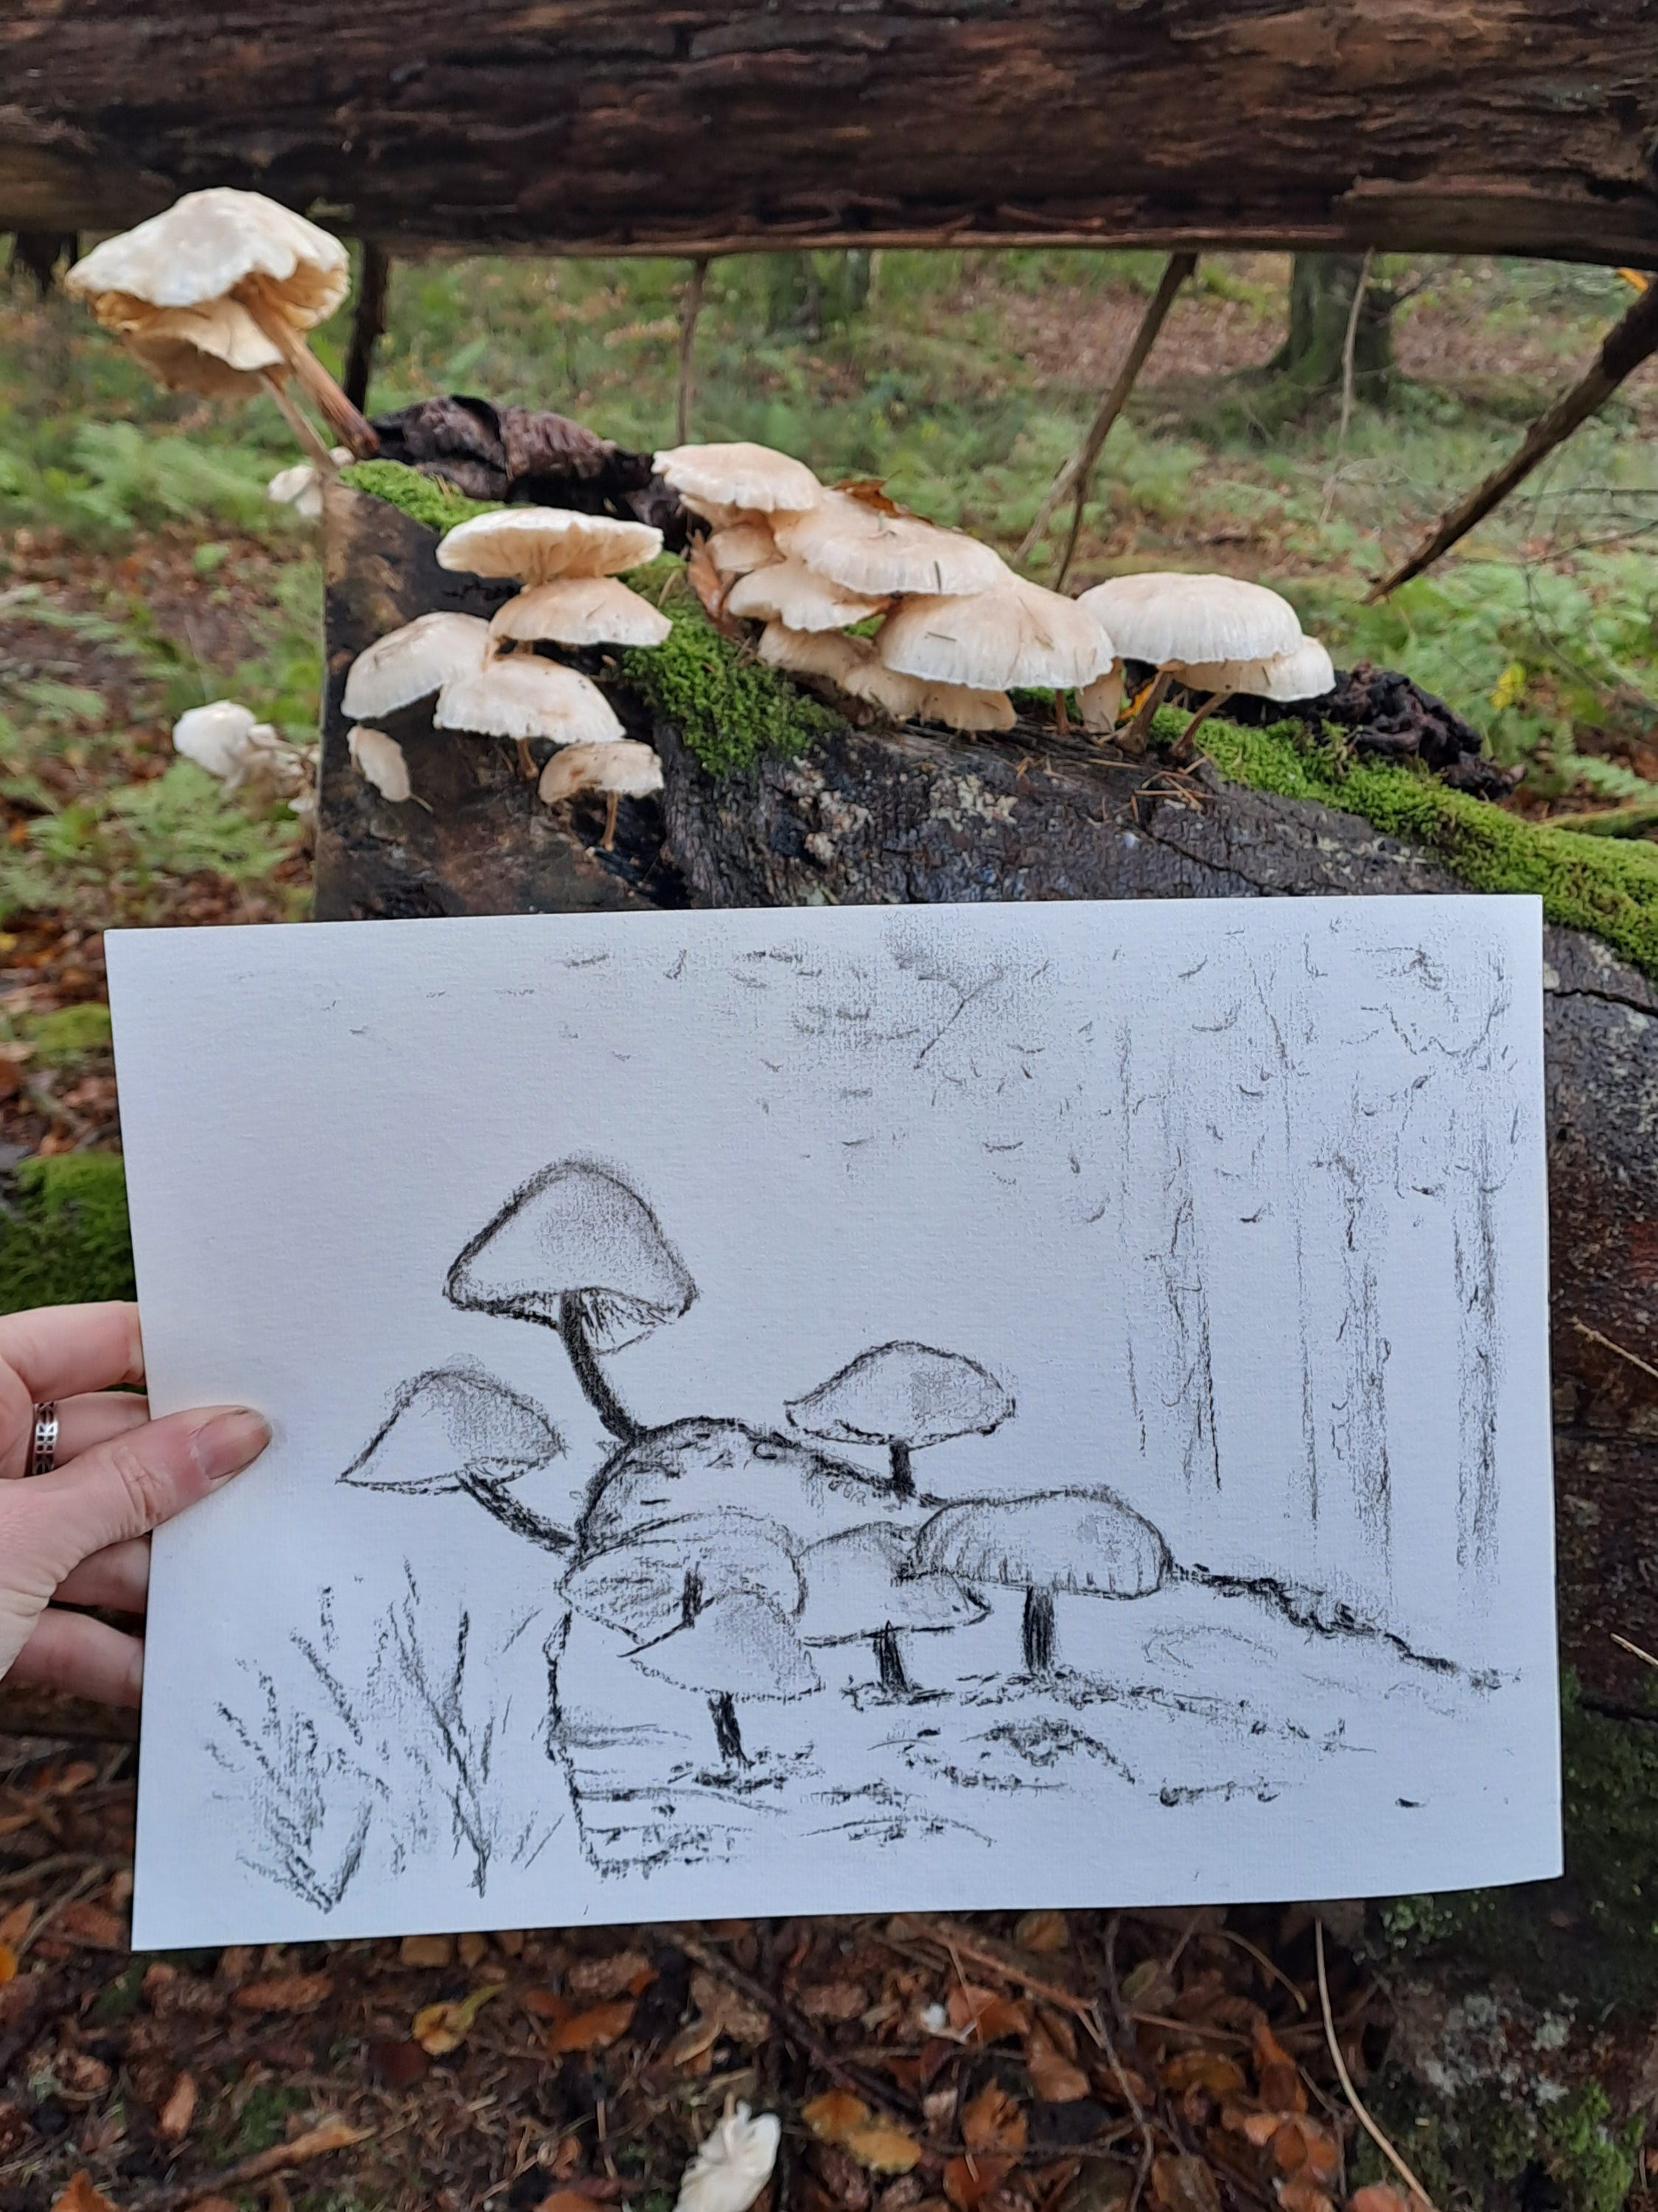
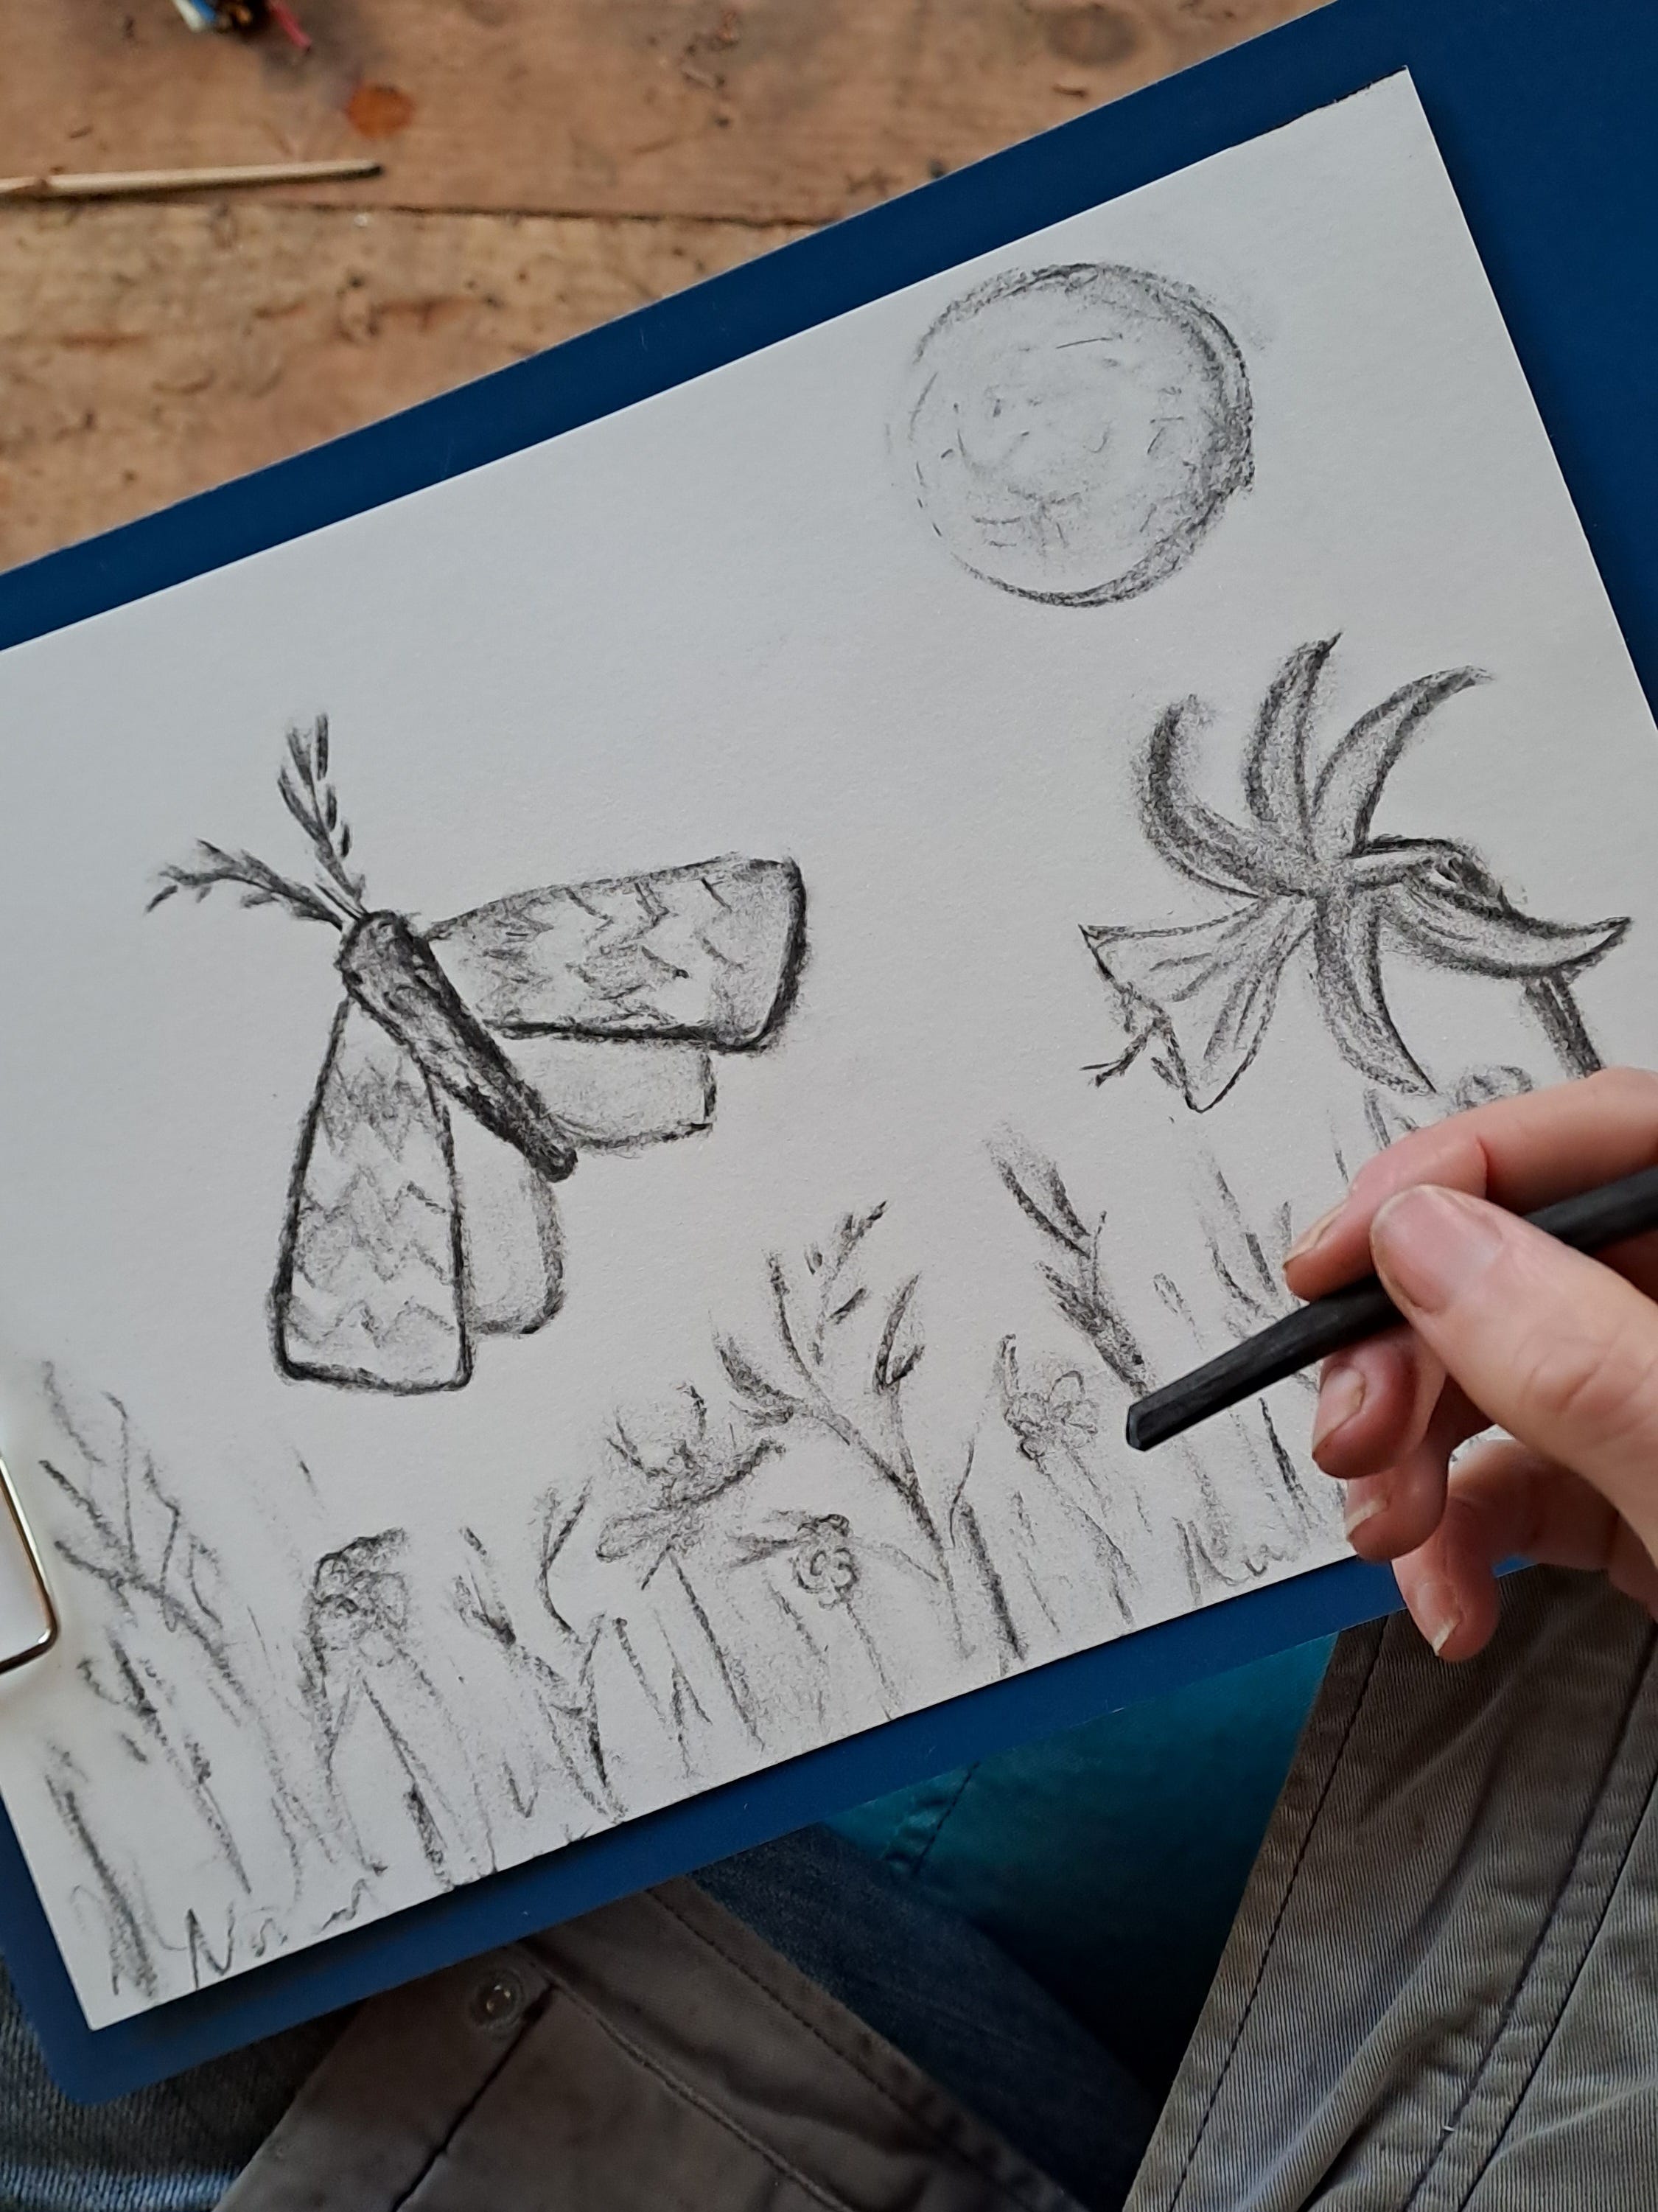
A few weeks ago, I shared a Note about spending a very enjoyable afternoon in the woods with some friends and the local Ranger, making our own charcoal sticks and then drawing pictures with them. I received a few questions about the process, so I thought I would write a proper post going into detail about what we did. So without further ado, let’s begin!
How to Make Charcoal
We made our charcoal from freshly-cut willow (Salix spp.) so I refer to willow throughout this post, but you could experiment with different types of wood to see which you prefer. The wood from different species of trees has slightly different internal structures, which will produce different textures of charcoal and different shades of black when you draw with them.
Equipment/Supplies:
Freshly cut willow, of approximately finger thickness
Secateurs
Sharp knife
Suitable metal container with a lid e.g. a golden syrup tin
Hammer and large nail
Tongs or fire gloves
You will also need to have a fire going throughout the process, so make sure you have enough fuel handy for that
To make your charcoal, you probably want to light your fire first! It needs to get up to a good temperature, which can sometimes take a while. A firepit or barbecue would work well.
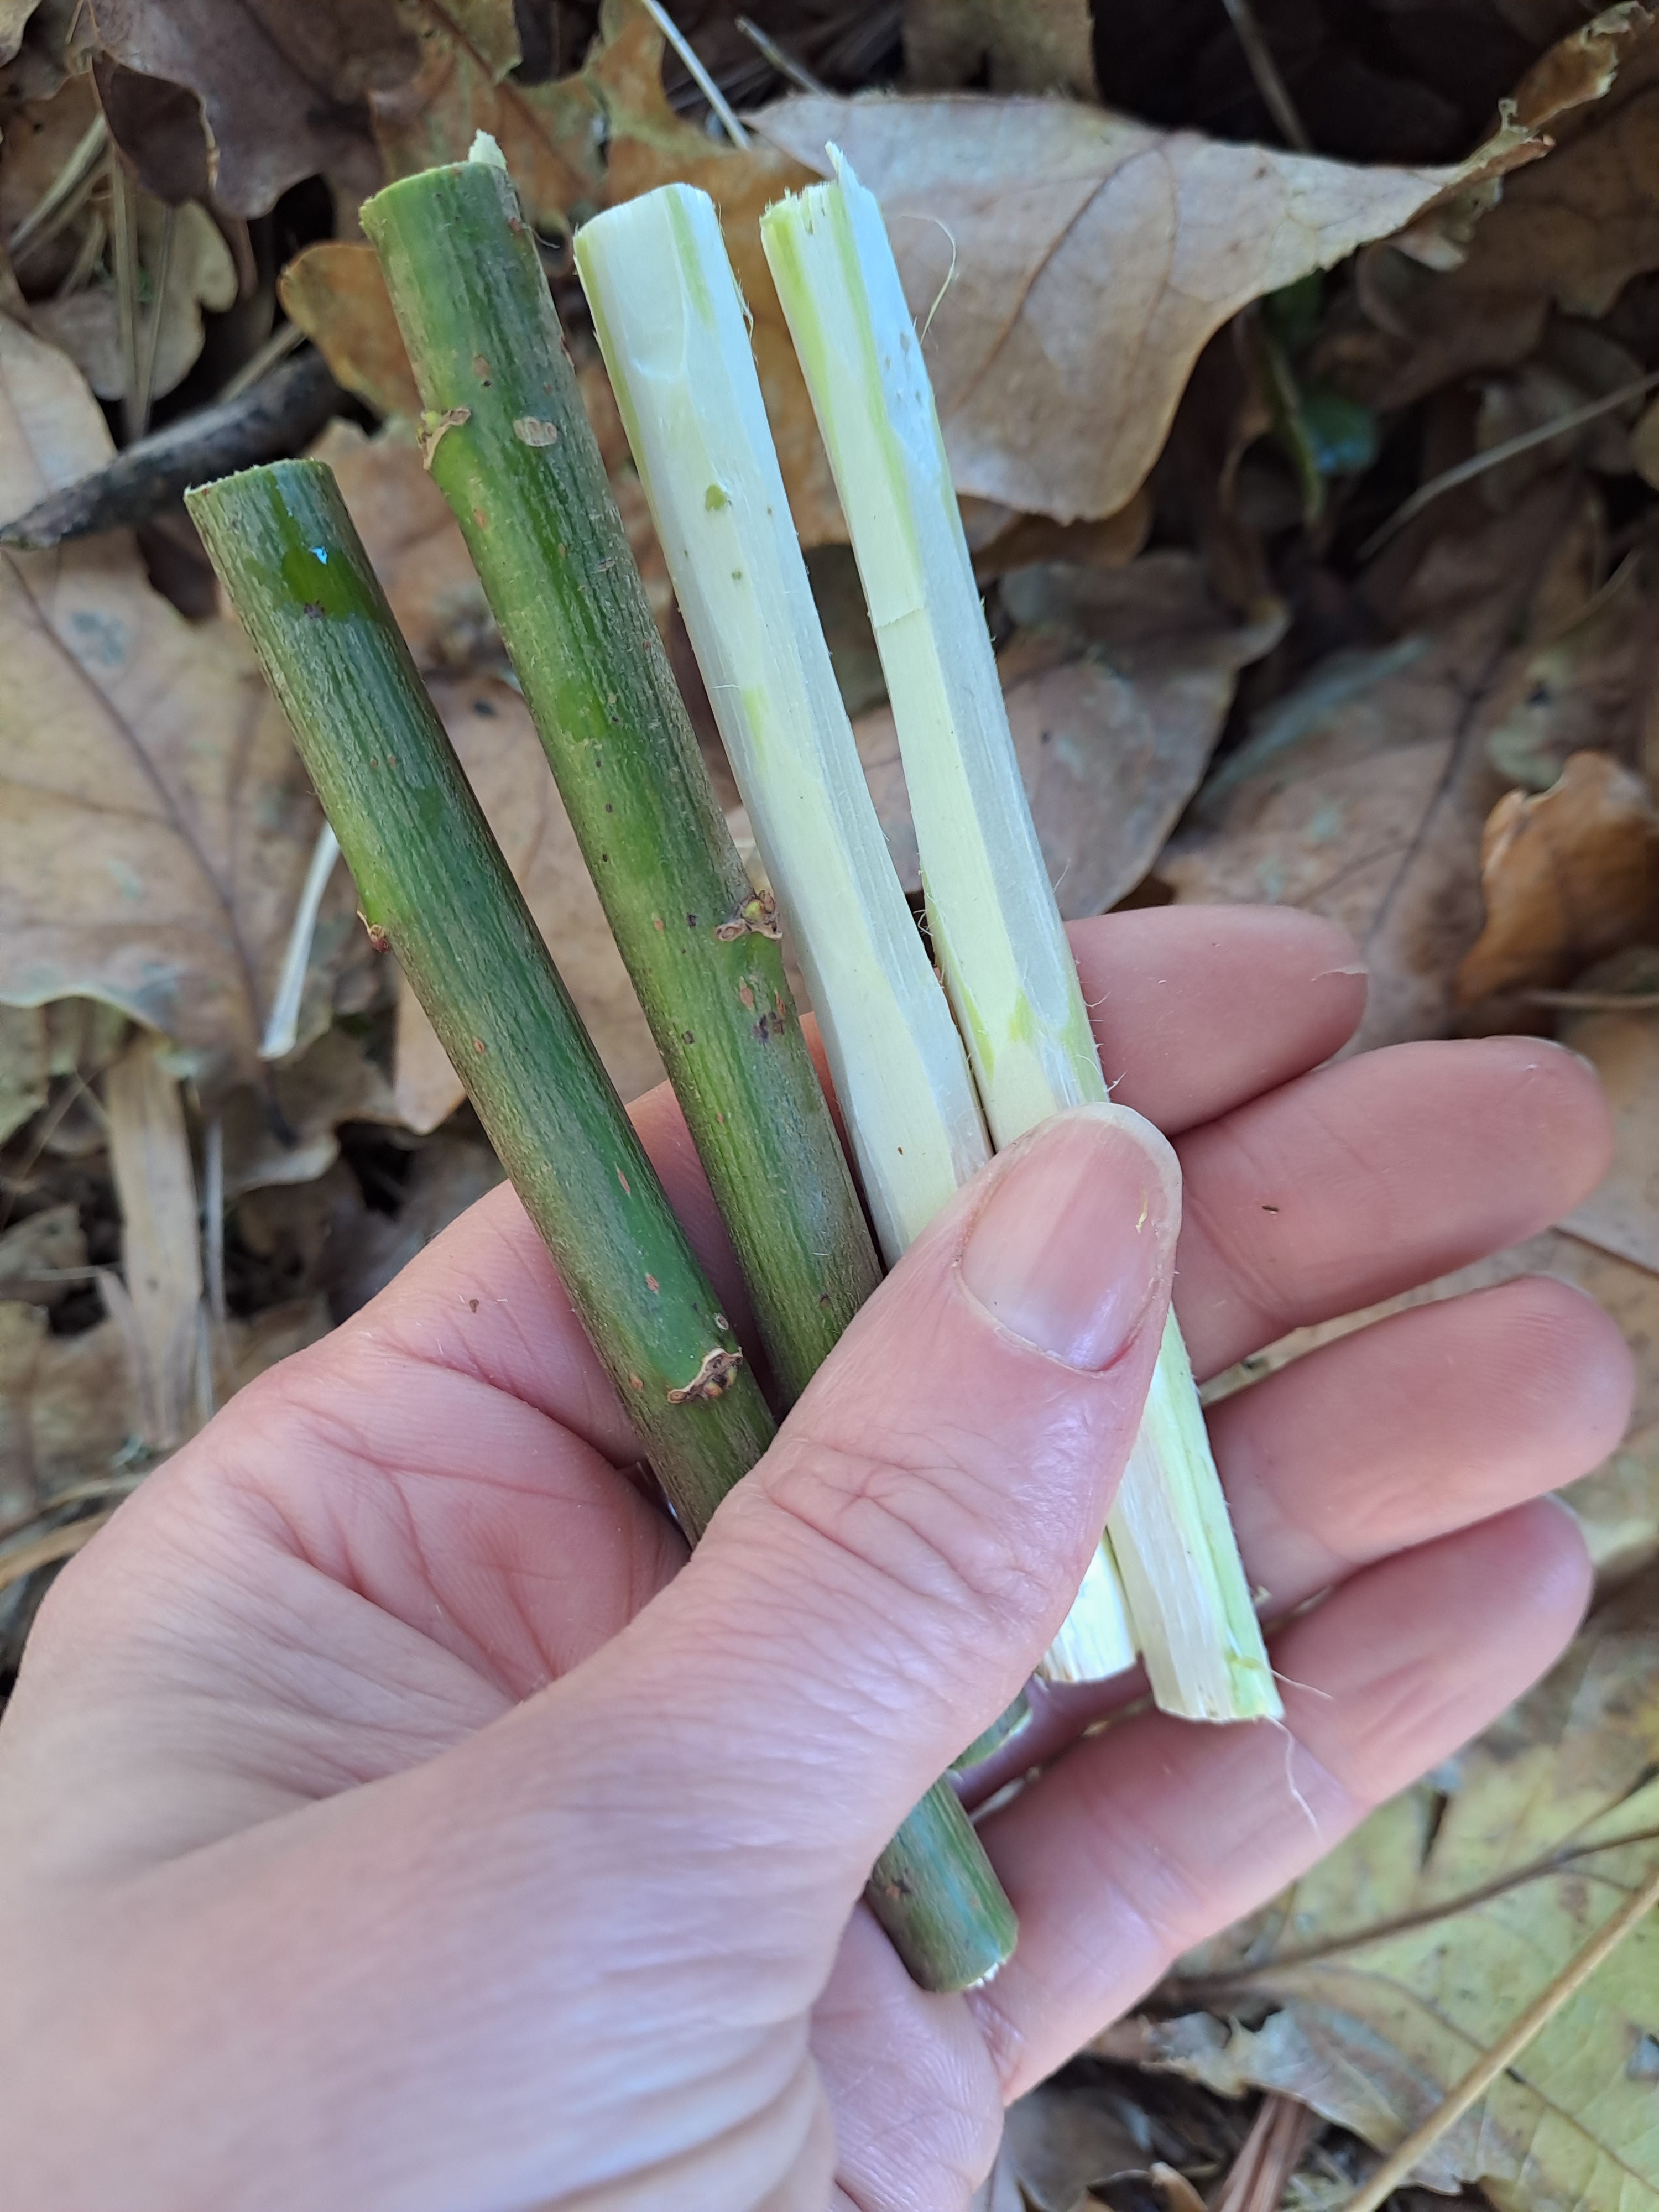
Prepare your willow by cutting it into lengths using the secateurs. You want the pieces to be able to fit upright in your tin with the lid on, but if they’re too short, they’ll be awkward to hold when drawing with them. I cut my pieces to approximately 10cm/4in long.
Using the knife, cut off the outer bark of the willow to expose the paler wood inside. Try not to cut away too much as the pieces will be more likely to snap if they’re too thin. You’re aiming for about pencil thickness.
Put the pieces into the tin, standing them upright. You want the tin to be about half-full.
Use the hammer to ensure the lid is closed tightly on the tin, then, using the nail, punch a hole in the centre of the lid. This will let steam and smoke escape while it’s heating.
Use the tongs or fire gloves to place the tin into your fire. You can build up the wood around the tin to keep it hot, but don’t cover it completely. You need to be able to see the top of the tin.
Now the waiting begins! It took about an hour to make our charcoal in syrup tins – smaller tins will be faster, while larger ones will take longer. After 15 minutes or so we started seeing smoke coming out of the hole in the lid – this is good!
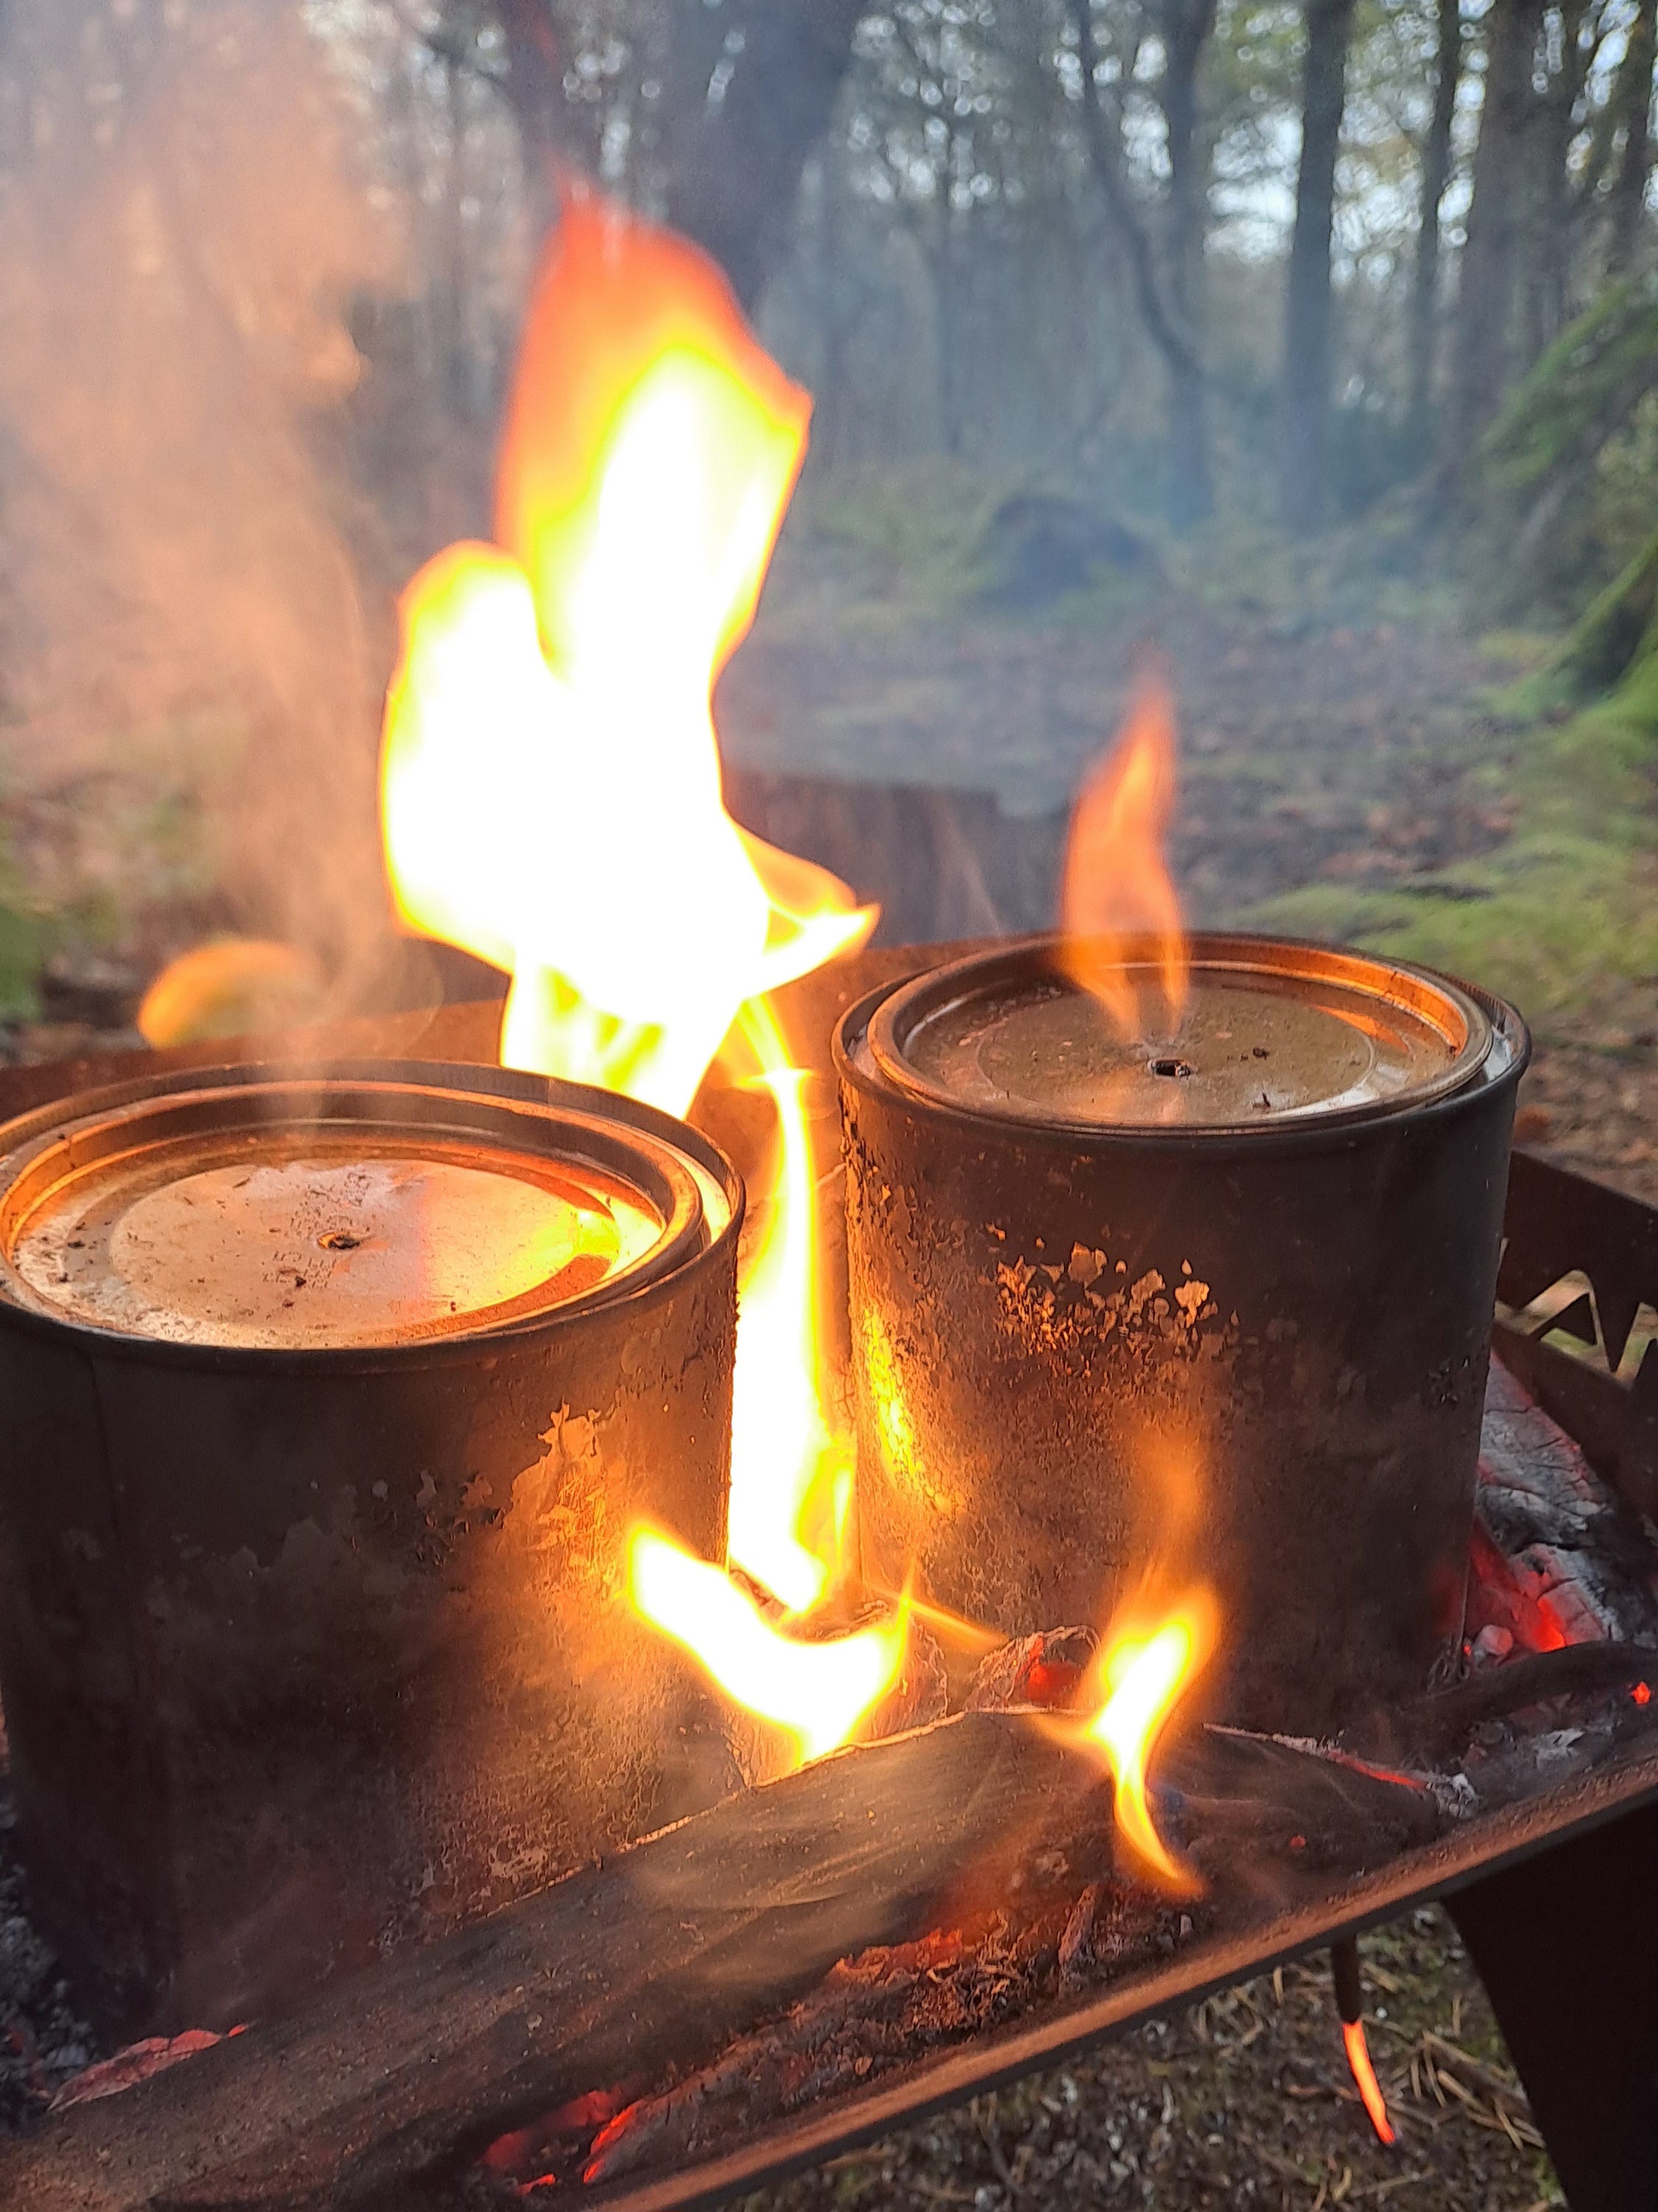
Keep the tin in the fire until smoke stops coming out of the hole. Watch until you see a flame coming out – this is a sign that your charcoal is nearly ready.
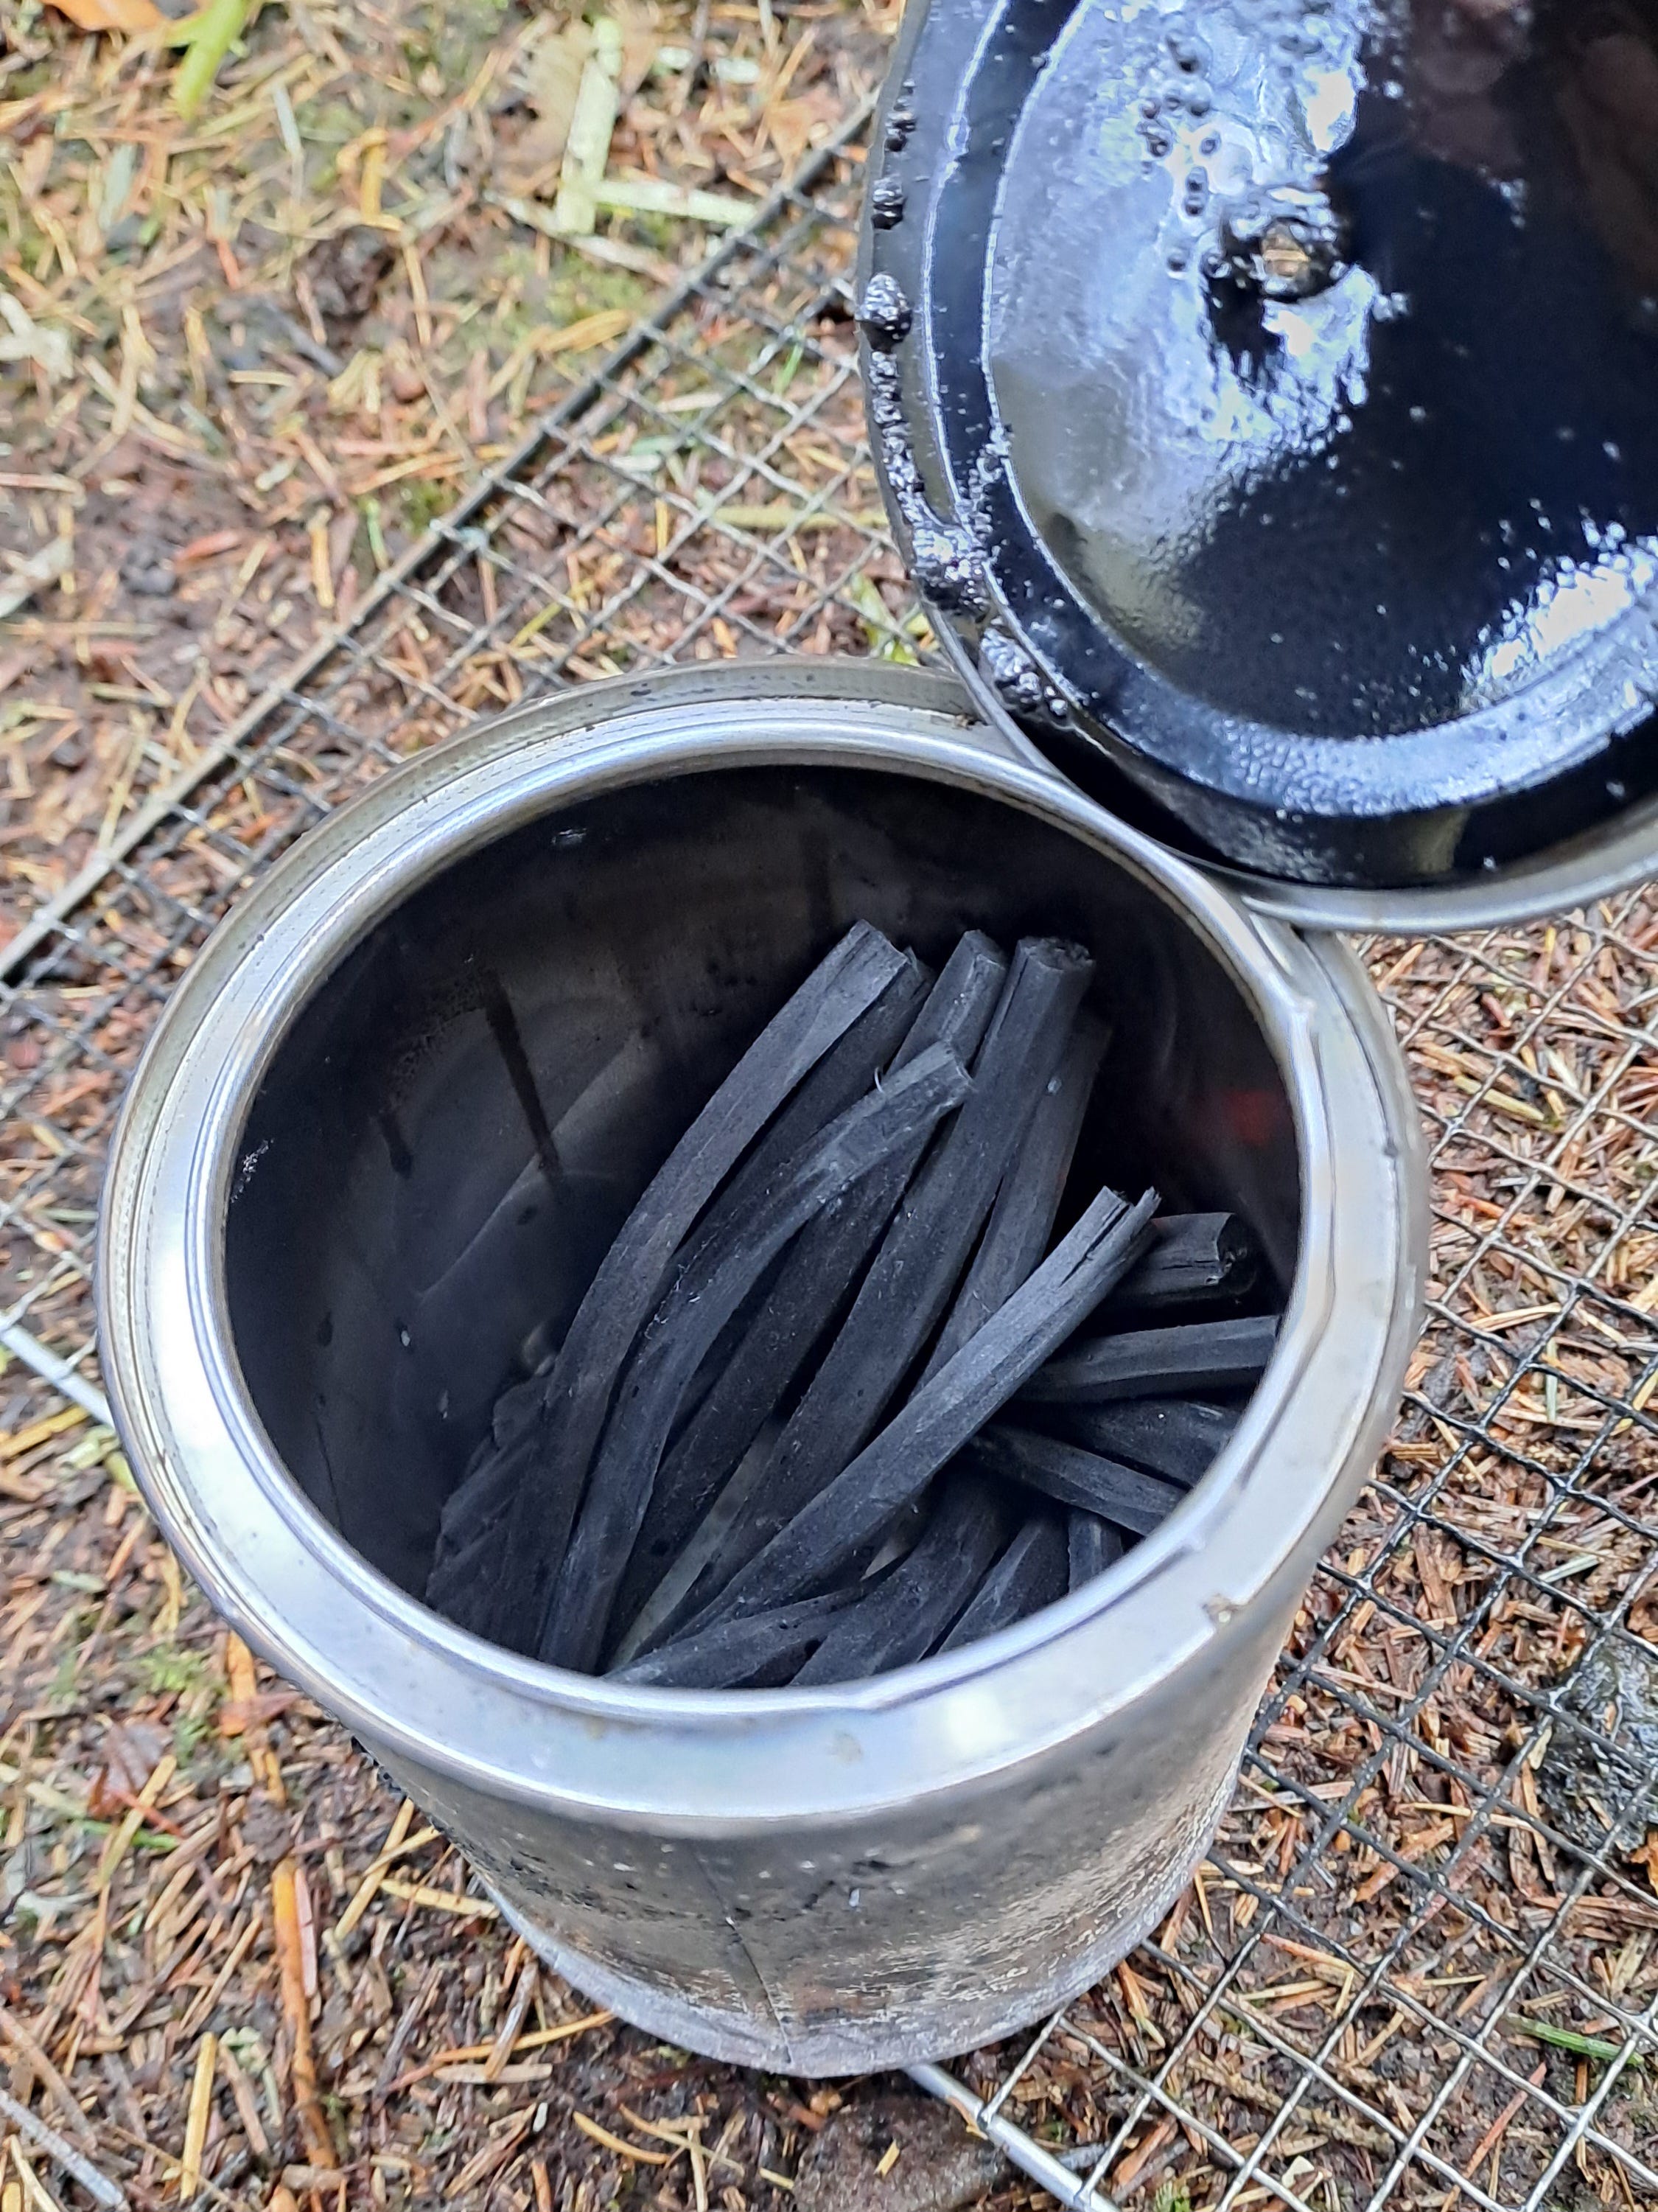
When the flame disappears, wait five minutes then carefully lift the tin out of the fire. Allow it to cool for a few minutes more, then prise off the lid – you may need to use your large nail again to help with this.
Now you can use your charcoal sticks to create some art. Have fun!
As we’re approaching the season of gift-giving, I think a box of homemade charcoal would make a really lovely present for the artist in your life. Or, if you think they’d like to make it themselves, how about a tin of syrup and some bits of willow?!
I’ve already written up Part 2 of this miniseries, and had fun researching and experimenting for it. I’m looking forward to sharing it with you, hopefully next Friday. Until then, have a good week and thanks for reading.
Posts here are always going to be free, but if you like what I write and/or find it useful, I’ve added a ko-fi button below if you want to show your appreciation. Thank you to everyone who has already contributed! xx
It's a beautiful world to live in when you're "crafts to try" list just keeps getting longer. This is lovely, Cat!
I so want to try this! With hazel and willow, it will be fun to find out what works better, maybe both?!